 Ukrainian / UK
 Arabic / AR
 Spain / ES
 Deutsch / DE
 Italy / IT
 zh / ZH
 French / FR
 Russian / RU
How to Put iPhone in DFU Mode: Guide for iOS Devices
The growing number of Apple mobile devices brings more distinguishing features between them. Thus, it is great to learn how to put your iPhone in DFU mode because the process is different for various models. The Checkm8 developers compiled this User-Friendly Guide for iPhone and iPad devices to help you quickly enter the DFU mode.
What is DFU Restore
Device Firmware Update, shortened as DFU, means a mobile gadget's software/firmware reloading.
Apple users enter DFU mode on their iPhone, iPad, and iPod touch when they want to upgrade an expired beta iOS version, jailbreak, un-jailbreak, or try this last chance to fix a situation if nothing else helps.
Using the special Device Firmware Update option, you will easily connect the iOS device to a computer without starting the iBoot process. When putting your iPhone in DFU mode, you bypass the iBoot but can still upgrade the iOS version, reboot a jailbroken smartphone, or roll back the changes.
The DFU restore is only possible with a black iPhone or another iOS gadget screen. Users whose device displays Apple or iTunes logotype should understand that they haven't entered the DFU mode. In other words, you must try again.
You can be sure that you have successfully entered Device Firmware Update only when:
- The iPhone or iPad screen is black;
- iTunes lets you know that it has detected your iOS device in recovery mode and is ready to restore it.
Enter DFU Mode on iPhone XR, XS Max, XS
Users who have iPhone XR, XS Max, and XS should follow the instructions below to put their iPhone into DFU mode.
Also, you will learn the steps for performing the DFU restore on your mobile device. Do everything correctly, and you will achieve a successful result. Putting iPhone XR, XS Max, XS in DFU Mode:
- Using a USB cable, connect the iPhone to your computer.
- You should quickly click the Volume Up and, after this, Volume Down buttons.
- Now press-hold your Side button. Wait till your display becomes black. When it happens, press-hold two buttons simultaneously, the Side and Volume Down.
- Count till five, and then let go of the Side button but keep holding the Volume Down.
You will now see a black screen if you have done everything correctly. Once you launch iTunes, it should detect your iPhone in recovery mode.
If you see Apple logotype or iTunes says you must connect the phone to iTunes, you are not successful and must repeat the steps above.
Enter DFU Mode iPhone 11, 11 Pro Max, 11 Pro, iPad Pro
Users who have these devices - iPhone 11, 11 Pro Max, 11 Pro, or iPad Pro - can put them in DFU mode using these guidelines:
- You will need to use a Lightning to USB cable and a computer with iTunes to connect your iPhone 11 version or iPad Pro to a PC or Mac.
- Shortly press the Volume Up and then Volume Down buttons.It is time to click-hold your Side button, counting to five. You will see how the phone's screen becomes black.
- Keep holding your Side button and simultaneously press-hold the Volume Down button for five seconds. After this, let go of the Side button but keep pressing the Volume Down, counting to ten. The screen will still be black, and you should see no logotype or text.
- On your computer, launch iTunes. This software will now detect your iPhone 11 and message you that your iOS device is in Recovery Mode. It will also prompt you to restore the smartphone via iTunes. The "Restore iOS" option will be available for your mobile device.
If the Apple logotype is shown on the phone display, you made a mistake. You most likely pressed the Side button for a longer time than needed. Please follow the guidelines above once again to succeed.
How to Enter DFU iPhone 8, X, 8 Plus
If you own iPhone X, 8, or 8 Plus, follow the instructions below to enter DFU on your mobile device. It is essential to repeat each step correctly until reaching the desired goal. Put iPhone 8 Plus, 8, X in DFU Mode:
- Take a USB cable and connect the smartphone to your PC or Mac.
- You need to click Volume Up quickly and then the Volume Down buttons.
- Press the iPhone Side button, waiting for the display to become black. After this, press-hold two buttons at once, Side + Volume Down.
- Count to five before you let go of the Side button but still hold the Volume Down.
- The screen should be black, meaning you have entered the DFU mode on your iPhone. And once you launch iTunes, the software will detect your smartphone in recovery mode.
If you see the Apple logo instead of a black screen, it means you have pressed the Side button in Steps 3 and 4 for too long. Also, if the handset asks to be connected to iTunes, you should repeat the instructions above again.
How to Put iPhone 7, 7 Plus in DFU Mode
It is easy to enter your iPhone 7 or 7 Plus into DFU mode once you follow every step of our guidelines. Ensure being correct, and you will quickly get through the Device Firmware Update restore process. Enter DFU Mode on iPhone 7 and 7 Plus:
- Via a USB cable, you need to connect the iPhone 7 Plus or 7 to a PC or Mac.
- Click and hold two buttons simultaneously, Volume Down + Side.
- Count to eight and let go of the Side button but keep pressing the Volume Down one.
- You will know that you have entered the DFU mode on iPhone 7 or 7 Plus because there will be a black screen, and iTunes will say it has detected your handset in recovery mode.
Please note that if you see the Apple logotype instead of a black screen, you have made a mistake and pressed the Side button longer than necessary. Incorrect steps will also show your handset asking you to connect itself to iTunes. You should repeat the steps in such a case.
How to Get iPhone 6, 6 Plus, SE, 5S, 5, 5C, iPad, iPod Touch into DFU Mode
Users who have iPhone SE, 6 Plus, 6, 5, 5S, 5C, iPad, or iPod touch can get their mobile device into DFU mode after doing as our guidelines below suggest. You will love how easy you complete the steps and get through the DFU restore process. Enter DFU on iPhone 6, 6 Plus, SE, 5S, 5, 5C, iPad, iPod Touch:
- You should connect your Apple gadget to Mac or PC through a USB cable.
- Press-hold two buttons now at once, Home + Lock.
- Count to eight and let go of Lock button but still keep pressing the Home.
- The screen remains blank and shows nothing, but iTunes (if you launch it) will find your iPhone in recovery mode.
Users who press the Home for longer than eight seconds will see the Apple logotype. Another issue you could face is your mobile device asking you to connect itself to iTunes. In both situations, you should repeat our instructions.
Exit DFU Mode: iPhone and iPad Instructions
You have learned how to put your iPhone and iPad into DFU mode. Now you can follow the guidelines on how to exit DFU. It is also fast and straightforward if you do everything correctly.
Returning to the normal disk mode on your Apple mobile device is essential. While the Device Firmware Update option allows fixing some issues on your iPhone, iPad, or iPod touch, it is also vital to learn how to exit this option.
Follow the steps below to safely exit DFU mode and not get stuck in it, as it can sometimes happen. These are the guidelines to turn it off:
- On your Mac or PC, launch iTunes.
- Use a USB or Lightning to USB cable to connect the iPhone or a different Apple mobile device to your computer. It can take a short while for iTunes to detect a connected gadget.
- Click-hold two buttons at once, Home + Power/Sleep and count to ten. Then let go of both buttons simultaneously.
- Immediately click the Power button, letting the mobile phone or tablet restart.
This method works for iPhones with a Home button, including iPhone SE and 6S.
- But if you have iPhone 7 or 7 Plus, you will need to hold the Side and Volume Down buttons waiting for the device to restart.
- If you have iPhone X, 8, or 8 Plus, you will need to click Volume Up then Volume Down buttons and press-hold your Side button until the phone restarts.
It is how you turn off DFU mode and return your iPhone to a normal disk state.
Through Device Firmware Upgrade you can give your iPhone a second life, restore it and fix different issues. To use popular Checkm8 services, you need to put your iPhone in DFU mode. After this, you can solve many problems and enjoy using your smartphone for many years ahead.
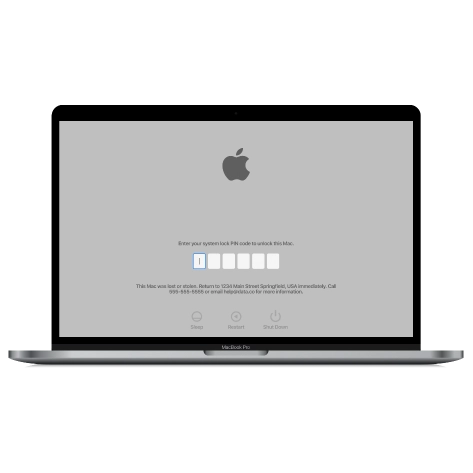
Tools for unlocking Mac Computers.
-

MacOS Activation Lock Bypass Tool
Price from $89.00
If your MacBook, iMac, Mac Mini, or Mac Pro is based on the INTEL T2 Chip, you can utilize the CheckM8 software to bypass the Find My Mac and remove the MacOS iCloud Activation Lock screen
Discover SoftwarePrice from $99.00
-

EFI Firmware Passcode Unlock Tool
Price from$99.00
A fast and effective solution to unlock the EFI security firmware (BIOS) password protection on any Mac equipped with the T2 chip is available
Discover SoftwarePrice from $99.00
-

MacOS Remote Management Bypass Tool
Price from$29.00
This tool is designed to bypass remote management on MacOS, allowing you to gain full access to your MacBook without any restrictions imposed by the MDM lock screen.
Discover SoftwarePrice from $29.99
-
MDM Unlocking Tool [T2 INTEL]
Price from$79.00
The new CheckM8 software provides a permanent MDM unlock solution for MacBook Pro, Air, and other Mac computers that are equipped with T2 processors.
Discover SoftwarePrice from $79.99
-
MacOS iCloud PIN Lock Bypass Tool
Price from$49.00
If you're having trouble with the iCloud PIN lock screen or have forgotten your PIN, this software can help you bypass the lock screen and regain access to your Intel-based MacBook
Discover SoftwarePrice from $49.00
Tools for unlocking iPhone and iPad.
-
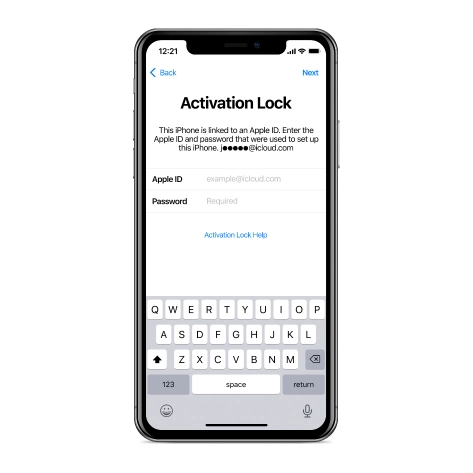
iCloud Activation Lock Removal Tool
Price from $15.99
This tool is used to get rid of the iCloud Activation Lock from iPhone and iPad devices running on iOS up to version 18
Discover SoftwarePrice from $15.99
-
![Remote Management [MDM] Bypass Tool](https://checkm8.info/new/img/service/remote-management-iphone-unlock.webp)
Remote Management [MDM] Bypass Tool
Price from $44.99
This software allows you to bypass the Mobile Device Management (MDM) Configuration Profile and remove the MDM lock screen on any iPhone and iPad model
Discover SoftwarePrice from $44.99
-
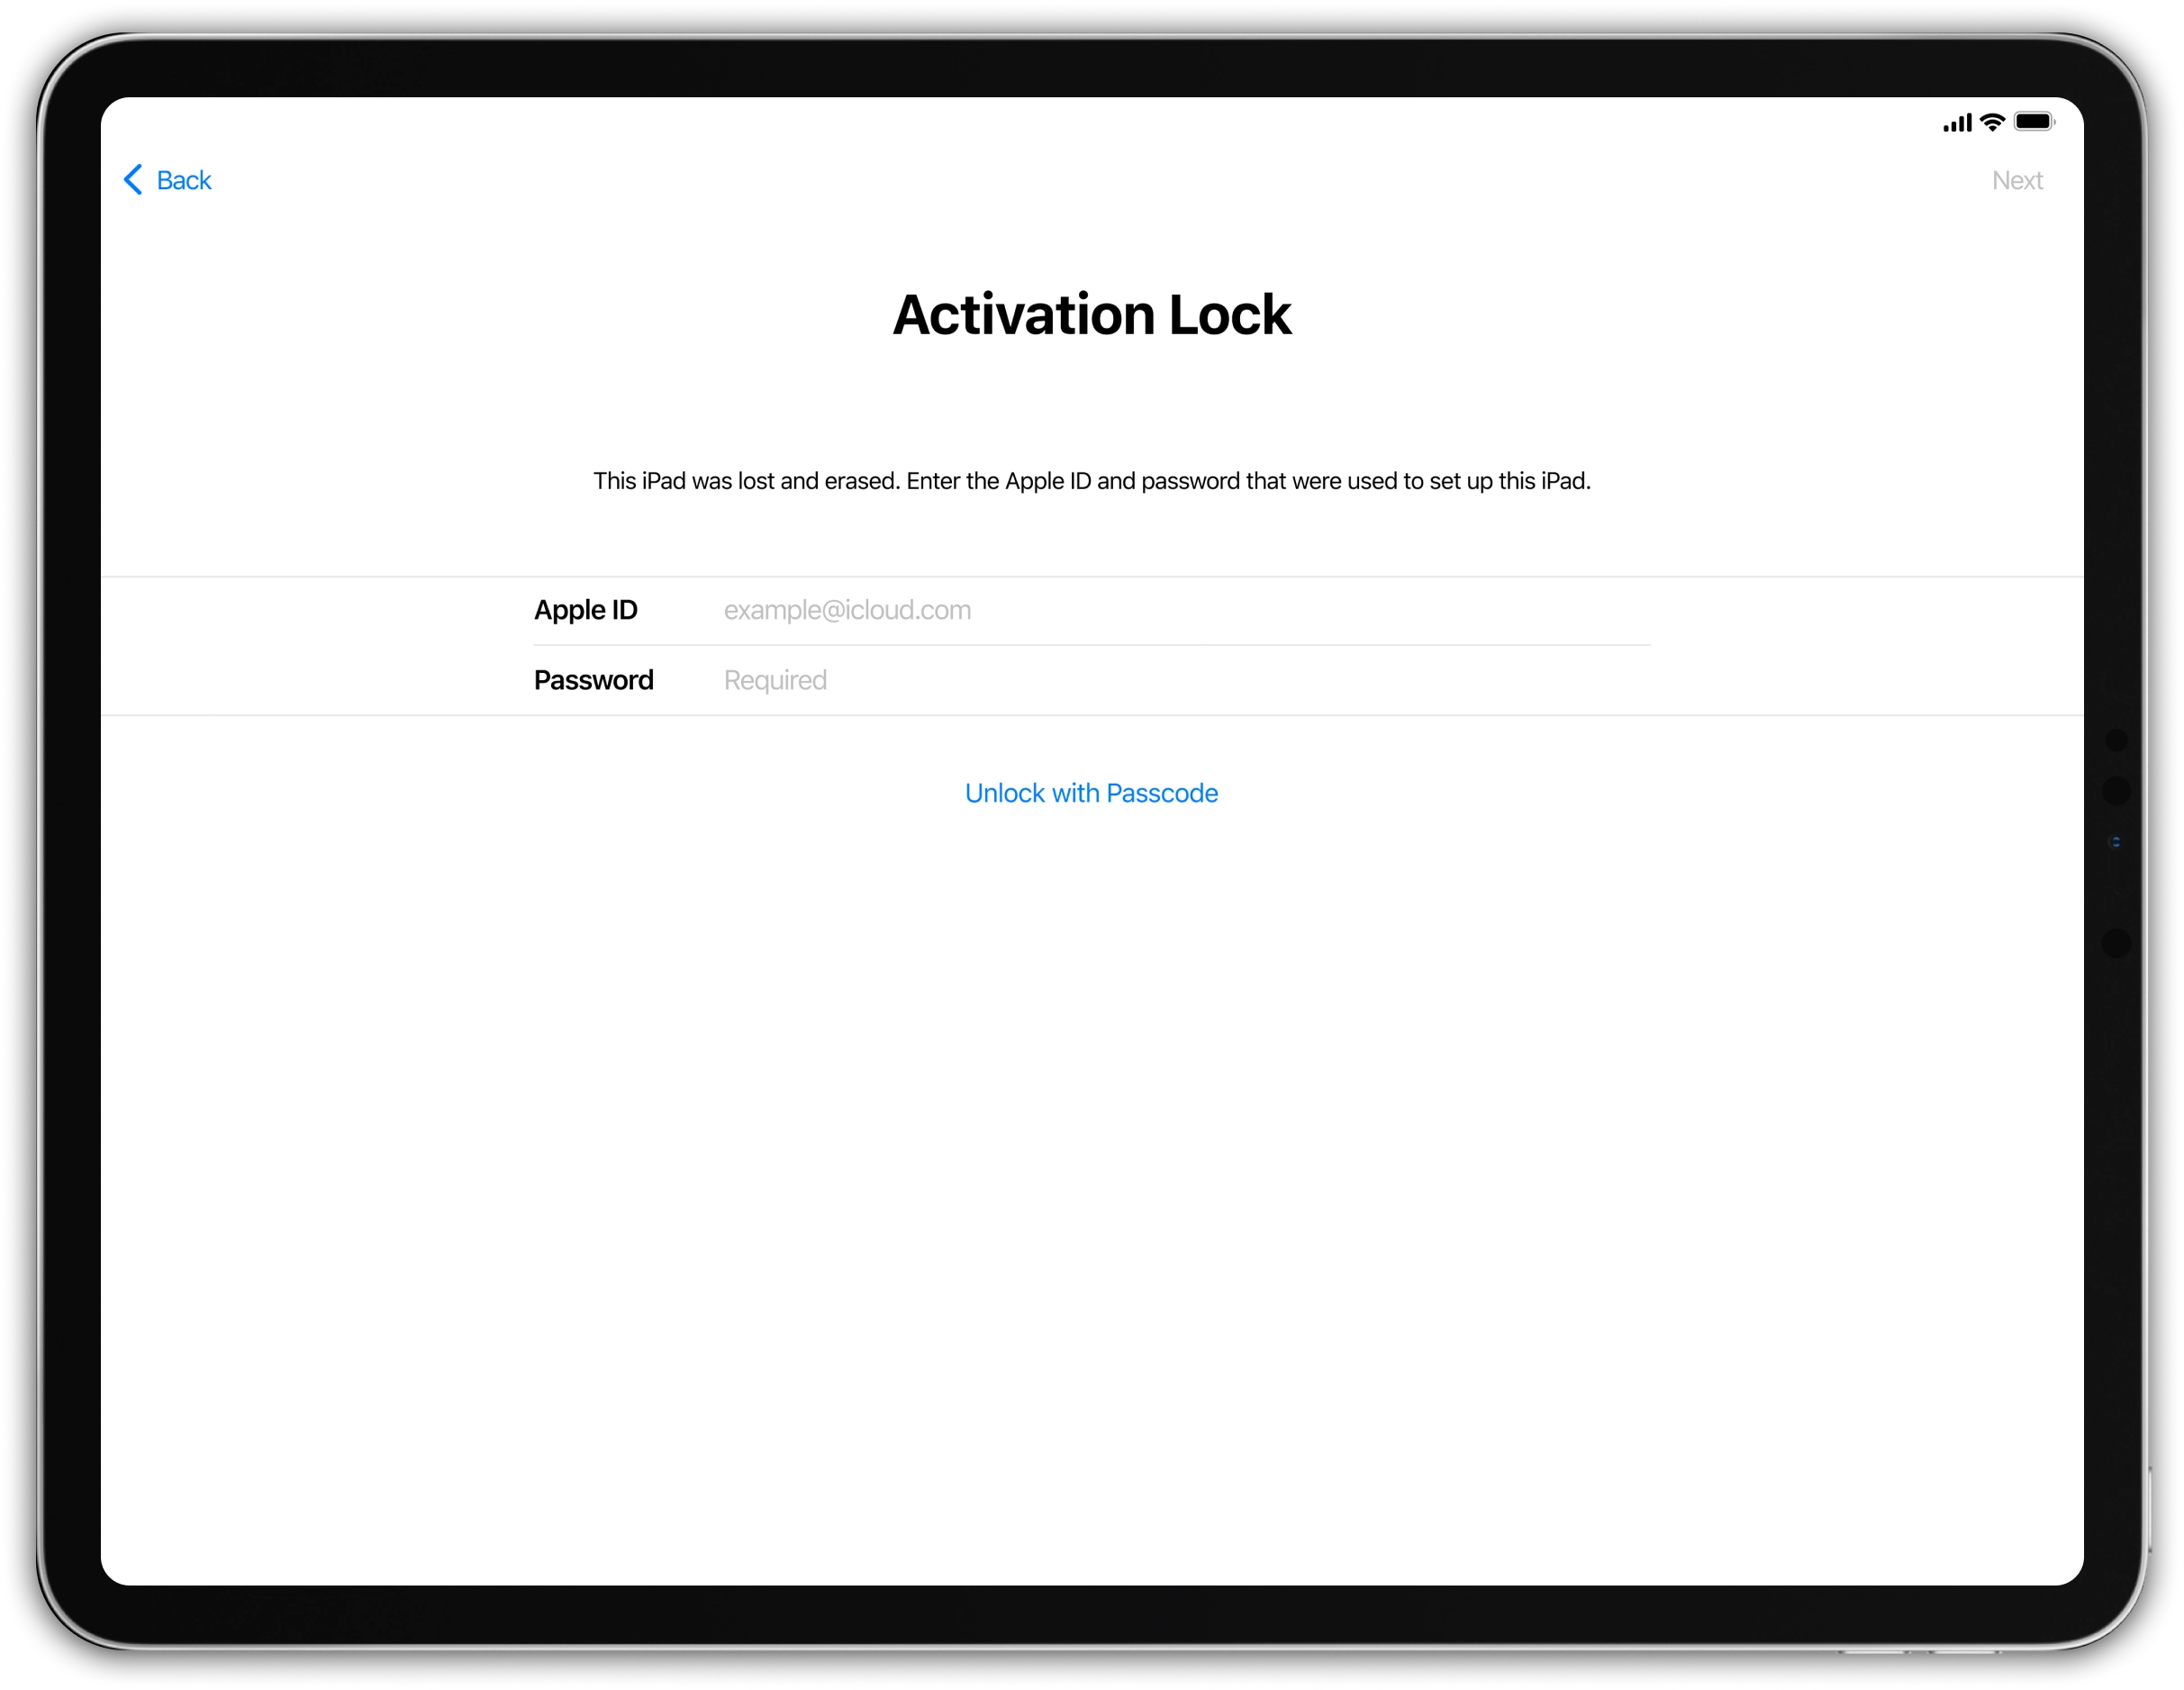
iPad FMI OFF [INSTANT]
From $69.99
Unlock Supported iPad WiFi Models in Minutes Remove Find My iPad (Activation Lock) from supported WiFi-only iPad models using the official CheckM8 FMI OFF Service.
Discover SoftwarePrice from $69.99